Fix the issue where “WIC Reset Utility” still detects an Epson printer connected via Wi-Fi, even though it’s connected through a USB cable, when resetting the printer using WIC Reset Utility. This causes the WIC Reset Utility to display a “Query is Rejected” error when attempting to reset the waste ink counter.
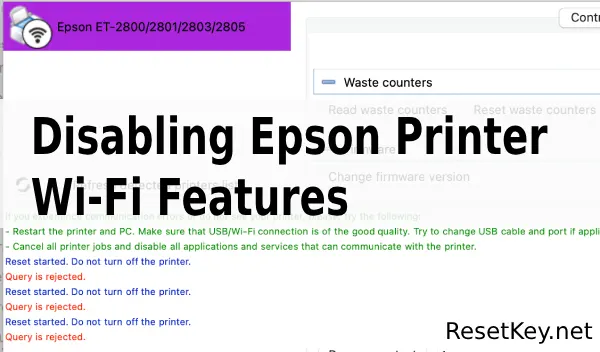
Understanding “Query is Rejected“? How to Disable Wi-Fi on an Epson Printer
Why Does Resetting the Waste Ink Counter via Wi-Fi Often Trigger the “Query is Rejected” Error?
Some Epson printers with updated firmware include significant security changes:
+ Blocking all reset commands over Wi-Fi connections.
+ Requiring all reset operations to be performed via a USB cable.
Learn more here: How to Fix ‘Query is Rejected’ Error
Even though computers typically prioritize USB connections when both Wi-Fi and USB are active, in some cases, the WIC Reset Utility still detects and attempts to communicate with the printer via Wi-Fi.
When this happens, the system rejects the reset command and shows the “Query is Rejected” error.
How to Completely Fix the “Query is Rejected” Error
To resolve this issue, follow these steps:
“– Step 1:” Completely disable the Wi-Fi connection between the printer and the computer.
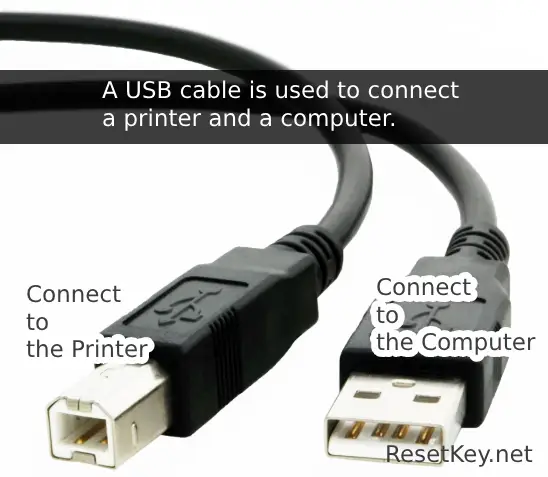
“– Step 2:” Connect the printer to the computer using a USB cable.
“– Step 3:” Restart both the printer and the computer.
“– Step 4:” Launch the WIC Reset Utility and verify the connection by clicking the “Read Waste Counter” button to check the waste ink counter values.
“– Step 5:” If you can view the waste ink counter values without encountering the “Query is Rejected” error, proceed with resetting the printer as instructed here: How to reset Epson printer’s waste ink counter
With only the USB connection active, the WIC Reset Utility will use this method, and the reset command should execute successfully.
After completing the reset process, you can re-enable the Wi-Fi connection to use the printer as usual.
This method has been confirmed effective by many users for fixing the “Query is Rejected” error on the latest Epson printer models.
Guide to Disabling Wi-Fi on an Epson Printer
Note: Before disabling Wi-Fi, jot down the SSID (network name), password, and any network settings related to Epson Connect services you’re using.
– If the printer has a touchscreen, tap the corresponding setting.
According to the official guide from epson.com, follow these steps to disable Wi-Fi on your printer:
1. Press the Home button on the printer if needed.
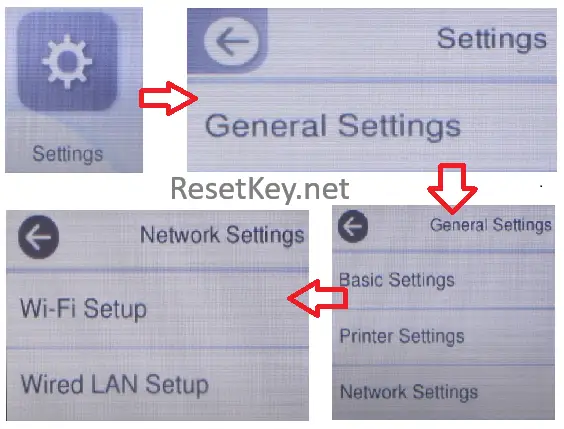
2. Use the arrow buttons to select “Wi-Fi Setup” and press OK.
If you don’t see “WiFi Setup” on the Home screen, you can access it using the following instructions: Settings > General Settings > Network Settings > Wi-Fi Setup
3. Use the arrow buttons to choose either Wi-Fi (Recommended) or Wi-Fi Direct, then press OK.
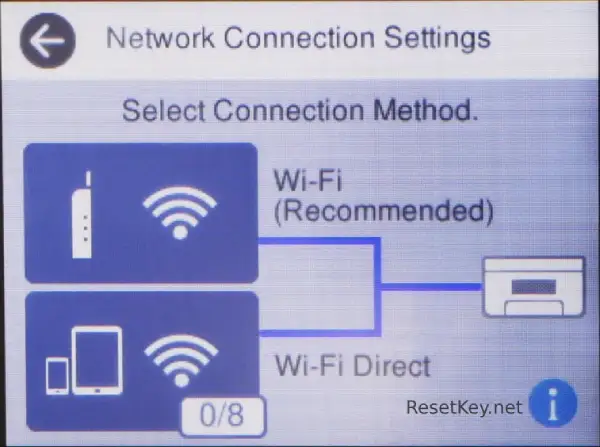
4. Perform one of the following:
“– If you selected Wi-Fi (Recommended):”
Press OK, then use the arrow buttons to select Others, and press OK again. Next, select Disable Wi-Fi using the arrow buttons and press OK.
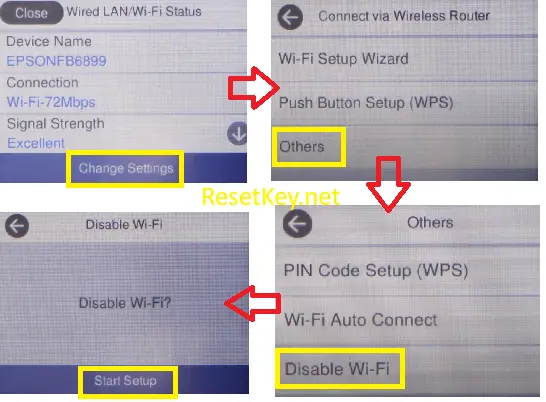
“– If you selected Wi-Fi Direct:“
Press OK twice. Press the down arrow, select Disable Wi-Fi Direct using the arrow buttons, and press OK again.
5. Press OK to finalize disabling the Wi-Fi feature.
Source: support.epson.com
What to Do After Successfully Resetting the Printer?
“– Re-enable Wi-Fi:” Follow the instructions from epson.com or your printer’s manual to reactivate Wi-Fi and restore the original network connection.
“– Disconnect” the USB cable if desired.
“– Clean” the waste ink tray -> here is how to clean waste ink pad