When your Epson printer gets the error “The Printer’s Ink Pads are at the end of Their service life. Please contact Epson Support” you need to do the following 2 things: First Clean the waste ink absorbent pads (We have to remove the ink pads and cleaning them) and secondly reset the waste ink counter discharge to 0% via WIC Reset Tool.
We have many articles on how to reset the waste ink counter to 0%, you can read instruction here: https://resetkey.net/howtoreset
In this article we will only focus on cleaning the waste ink pad manually to avoid waste ink pad overflow, We also have a post on how to collect excess ink with waste ink bottles you can find on the website or refer here…
Now let’s go into detail on the steps to clean the waste ink pad
How to clean Epson printer’s waste ink pad to avoid waste ink overflow
To clean the waste ink pad, you need to locate the waste ink pad and remove the waste ink pad from the printer. If you have a little technical knowledge, you can do it yourself, but if you are not confident enough to do it, bring your printer to the center for experts to assist you.
Step 1: Locate and open the tray containing the waste ink pad.
Depending on the model, the location and shape of the waste ink tray is different, but most are located behind the printer, near the power jack area.
The waste ink absorber tray is usually fixed with a screw, so you need to locate this screw and use a screwdriver to remove the screw.
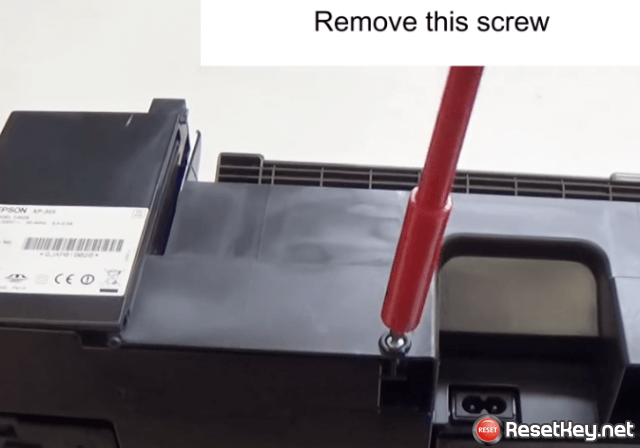
Some printers can remove the waste ink tray right after removing the screw like this:
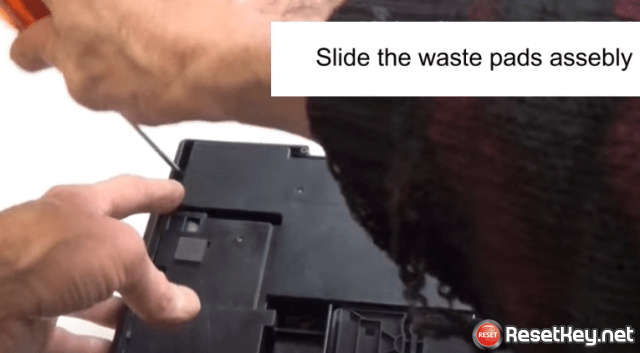
Slide the waste ink pads asebly.
However, many printers will have a hook, you need to pull the hook to remove the waste ink tray:
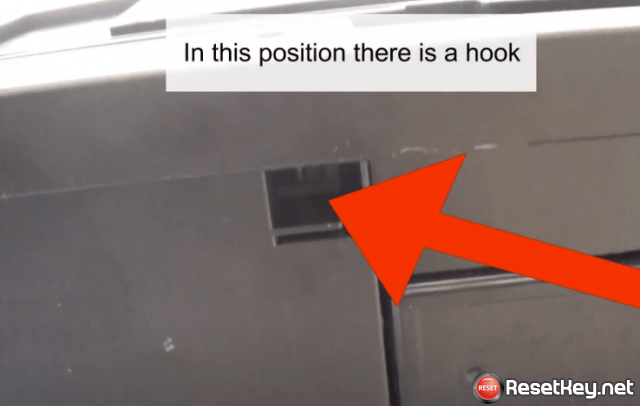
Carefully remove the waste toner tray from the printer
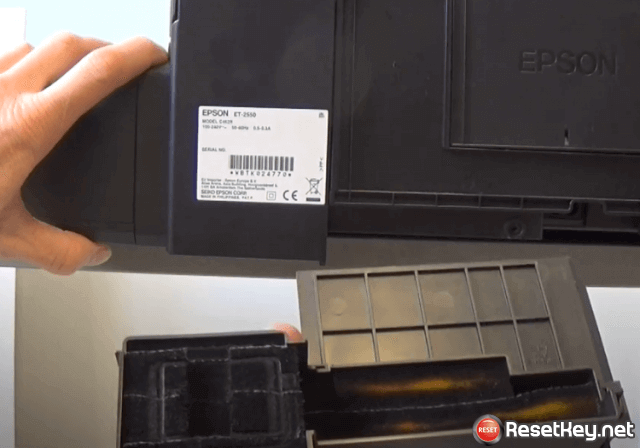
Note: Do not turn the printer upside down to get the waste ink tray because it may bleed the ink into the printer
Step 2: Remove sponges from the waste ink pad container and wash them:
To wash the sponges remove them from the container.
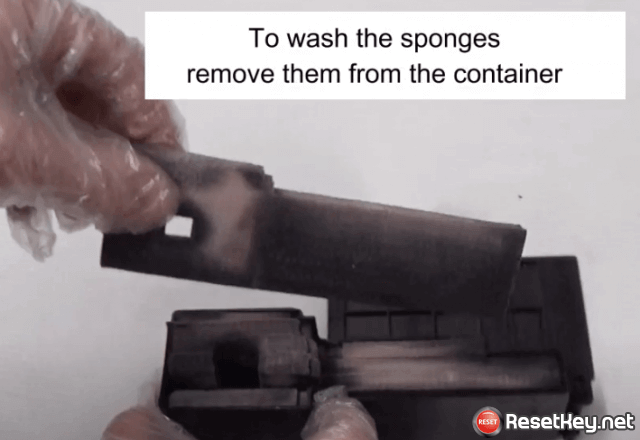
After removing the ink-absorbing sponges, note the position of the pads in the waste ink tray, noting that they are not the same length and shape.
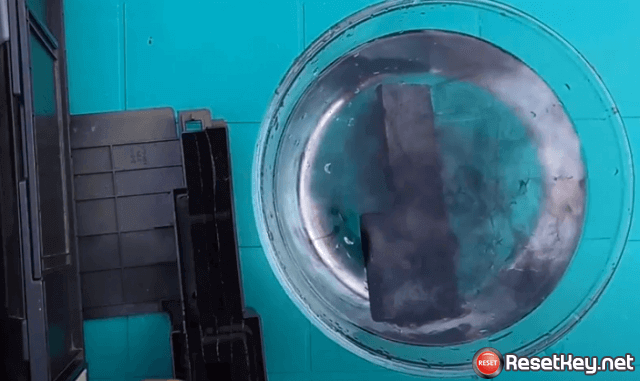
Now put the sponges in a bowl of water and soak for a while.
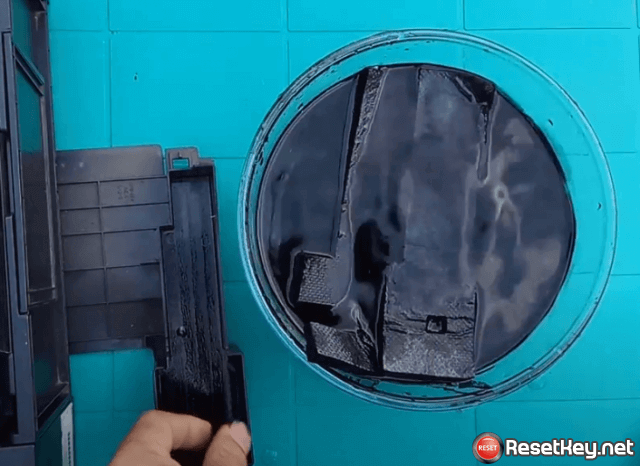
Then you take them to wash with the faucet:
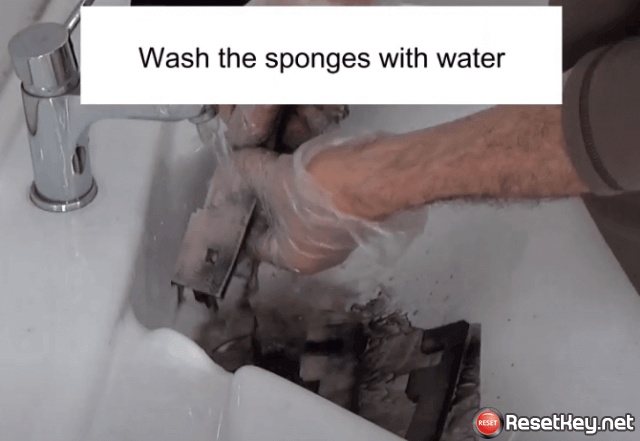
After washing the waste ink absorbent pad, take it to dry or dry it in the sun:
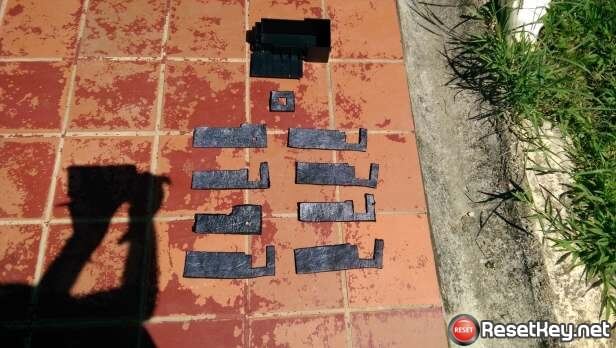
Step 3: Put the sponges back in the tray and reinstall waste ink pads into the printer
Now to put the sponges back in the tray:
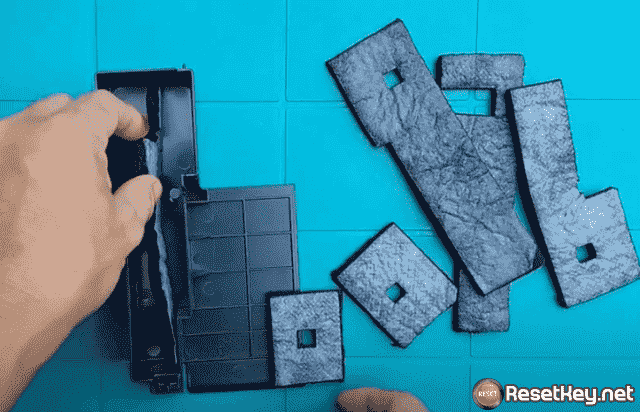
And reinstall the waste ink pads into the printer:
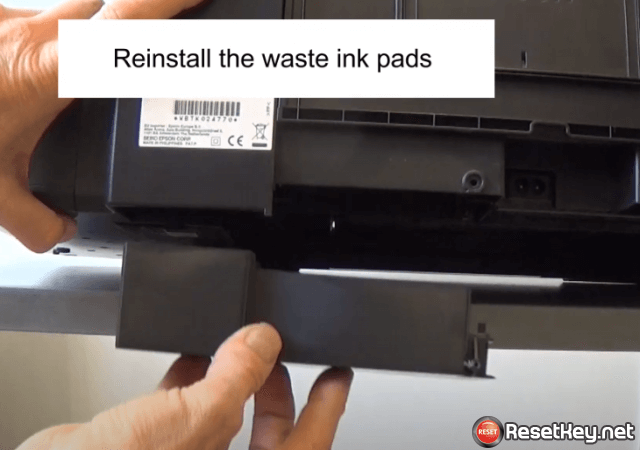
Step 4: Reset waste ink counter
If you have not reset the waste ink counter, after washing the waste ink pad you should do it immediately to ensure the printer works, please follow the instructions here.
You should periodically check the waste ink tank to make sure ink doesn’t spill out of the printer when it’s full, and be sure to visit ResetKey.net for a reset key code. Good luck!
