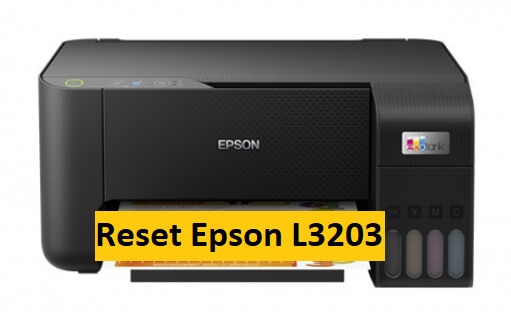
Printers are crucial in modern offices, saving us time and effort. However, technical issues can arise, and one common problem with the Epson L3203 printer is the blinking red light, often associated with an overflow in the waste ink counter. In this post, we will explore the causes of this issue, address it using the WIC Reset Utility software, and provide preventive measures to ensure the longevity of your Epson L3203 printer.

Causes of Red Light Blinking on Epson L3203:
Before delving into specific solutions, let’s discuss the causes and preventive methods for avoiding the Waste ink counter overflow error on the Epson L3203 printer.
What is Waste Ink Counter Overflow?
Every Epson printer, including the Epson L3203, has a cleaning process that generates waste ink. If this ink is not controlled, it can overflow the waste ink, causing hygiene issues and potentially damaging printer components. Each Epson printer has a waste ink counter; if it exceeds 100%, the counter has overflowed.
Waste ink counter overflow occurs when the printer has exceeded the predetermined page limit, and the waste ink counter cannot record any more pages. At this point, the Epson L3203 printer stops functioning to prevent waste ink from overflowing.
Resolving with WIC Reset Utility:
If your printer is still under warranty, you can take it to an Epson service center; otherwise, the repair cost at service centers can be significant, around $50. However, with the WIC Reset Utility, you can reset the waste ink counter to 0% for a minimal cost of $8.99 or reset it to 80% for free [here](https://resetkey.net/trialresetkey).
The WIC Reset Utility is a powerful tool for resetting the waste ink counter on Epson printers. Here’s how to use it to resolve the blinking red light issue:
“+ Step 1: Download the Software“
– Visit the https://resetkey.net/download
– Download and install the WIC Reset software on your computer.
“+ Step 2: Purchase a Reset Key“
– To unlock the software’s full features, you need to purchase a Reset Key [here]
“+ Step 3: Reset the Printer Epson L3203“
– Connect the printer to your computer and open the WIC Reset Utility.
– Select your Epson L3203 printer from the program’s right-hand list.
– Click on “Read Waste Counter” to check the counter status.
– Click “Reset Waste Counter” to initiate the printer reset.
– Enter the purchased Reset Key and select “Reset Waste Counters.” Restart the printer when prompted to complete the process.
– Detailed instructions can be found [here].
– What more video how to install WIC Reset Tool and reset Epson L3203 here:
“+ Step 4: Clean the Waste Ink Tray“
– Resetting the Waste ink counter will resolve the issue if the waste ink counter is >=100% (Reset Waste ink counter overflow problem). You must still check and clean the waste ink tray to prevent overflow.
– After resetting, cleaning the waste ink tray is crucial to ensure smooth printer operation.
Preventing Waste Ink Counter Overflow:
To prevent waste ink counter overflow, follow these steps:
“+ Print Regularly:“
– Avoid printing large quantities in one go. Regular printing helps prevent the waste ink counter from reaching its limit quickly.
“+ Regular Check-ups:“
– Periodically check the waste ink counter to know when it needs resetting before the red light blinks.
“+ Use Quality Ink:“
– Use genuine and high-quality ink to ensure optimal performance.
Following these steps, you can keep your Epson L3203 printer running smoothly without encountering the red light blinking issue due to waste ink counter overflow. Remember to perform regular maintenance for the longevity of your printer.
