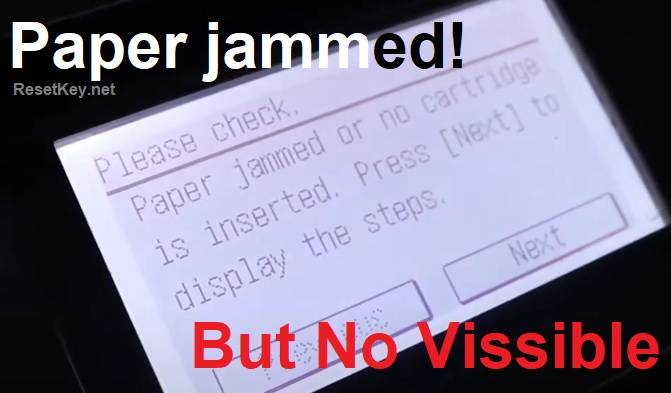
Using printers and dealing with paper jams are things that happen frequently. To deal with this problem quickly, you can open a printer’s cartridge area, remove the jammed paper, and then restart the printer.
The printer may, however, indicate a paper jam even when there is no visible jammed paper.

Even though this kind of error is similar to a regular paper jam, it might take longer because it has different causes. This post will discuss some common causes of this error and suggest how to fix it yourself.
Paper Jam Errors with No Visible Issue: Causes and Solutions
You can take out any stuck papers in the printer. For example, one gets an ordinary paper blockage.
However, if you cannot find any jammed papers and the printer still says there is a “paper jam” error, then maybe you have got something wrong with its hardware.
If you need help troubleshooting this, taking the printer to the repair & warranty center would be beneficial.
Some causes of this error
With experience in repairing many printers related to this error, we can list some causes of the error that the printer reports a paper jam but cannot find the jammed paper.
– Hidden jammed paper:
The printed paper can be stuck deep inside the printer, making it hidden, and you can ignore it and not see it. A part of the printer may hide it.
– There are scraps of paper in the printer:
When printing, the paper is pulled in, and sometimes, torn, or scraps may be in the printed paper and penetrate the printer’s paper jam sensor, causing the printer to display a paper jam error.
The scraps are small and difficult to detect, so you will need help seeing them if you do not remove the printer parts.
– Paper jam sensor failure:
Every printer has a paper jam sensor, which helps protect the printer from damage when there is a paper jam.
The sensor may be mistaken for a paper jam when it is damaged, or there is dirt on the sensor.
– Paper pull roller failure:
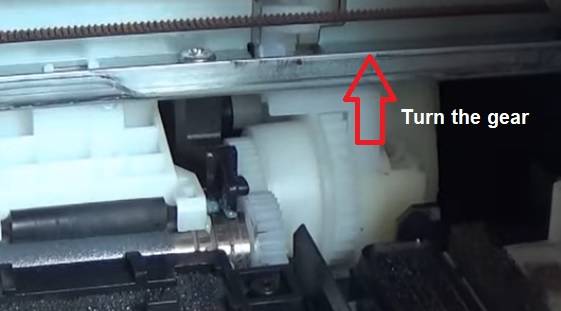
In some situations, the roller may be deformed so that it cannot pick up the paper, or there is an object that prevents the roller gear from working, causing the printer to think that there is a paper jam mistakenly.
– Jam due to pulling too much paper at the same time:
When the printed paper sticks together, there may be a printer error that can pull too much paper at the same time when printing. This will activate the paper jam sensor.
– False error after starting the printer:
There are many cases where, even though there is no paper jam, after starting the printer, there is still a virtual paper jam message, making it difficult for you to assess the error.
– With 2-sided printers:
2-sided printers have a more complex operating mechanism, so they are more likely to cause paper jams. It may get stuck when printing the second side and can only be seen when you open the components related to this part.
– Some other possible errors:
In addition, when the paper tray is placed incorrectly, or there is too much paper, it can also cause errors, or if you use the wrong paper size, it can also cause errors.
How to fix printer paper jam error where there is no visible issue.
If you can disassemble the printer without paper jamming, you can determine what caused it and fix it yourself. Below are some steps that will help you solve this problem:
Caution: Printer parts should not be damaged.
Step 1: Power Cycle Your Printer
Begin by trying to restart the printer. Turn off the printer and disconnect it from the power source. Allow a few minutes for rest, plug in, and power on again.
This is a simple reset that might erase any software hiccups resulting in false jam alerts.
Step 2: Inspect the Paper Path
Doors or panels on your printer should be opened carefully. A flashlight may be used to examine the inside of it so as to see if there are any small pieces of paper or tiny scraps along the whole path of paper.
You need to pluck out, using tweezers, anything that you find during this period.
Step 3: Check All Access Points
Open all access points on the printer (like paper trays, cartridge doors, back panel, etc.).
Please go through them carefully for any tiny paper bits, staples, or other foreign objects stuck inside the printer’s mechanisms.
Step 4: Paper Tray and Cartridge
Make sure that the papers are not too tight in a tray, but at the same time, they should not be loosely packed.
Remove the paper stack from the printer tray to see if it is crumpled or curled.
Ink cartridges or toner must be checked for correct installation and without obstruction.
Step 5: Clean the Rollers

Residue on rollers builds up dust over time, leading to paper feed issues. Just wipe them by using a cloth that is moistened slightly with water and free of lint.
Move each roller manually to reach all corners. It helps renew their grip as well as stop displaying the “paper jam” warning message.
Step 6: Sensors’ review
They are normally found close to trays where papers are loaded in them.
Eliminate any dust/debris by blowing it away with a can of compressed air, or brush softly using a soft brush, which might give false alarms.
Step 7: Check Paper Tray Settings
Ensure your paper is correctly aligned and does not overload the tray. Make sure you adjust the paper guides to fit snugly around the size of the paper inserts you have got.
It is advisable to double-check printer settings through your print setup on your computer for confirmation if they match with the type of paper and size loaded into your printer.
Step 8: Diagnose the Printer
Is your printer model in diagnostic or maintenance mode? You may run it to detect any problems or to reset false readings.
To activate these features, you should look at the printer’s manual or consult the manufacturer’s website.
Step 9: Check the Duplexer
For those with printers that do duplexing, open and inspect the duplexer. Look out for any obstructions and misfed papers. To make sure this part is okay, you may need to open additional panels.
Step 10: Find Obstacles
Finally, check if there are objects which could have fallen inside by accident. These could be packaging materials or other small things that might have plugged up the path of paper.
I found some YouTube Videos that might be helpful to you.
Video 1: https://www.youtube.com/watch?v=yXWgx8m-gY0
Video 2: https://www.youtube.com/watch?v=wbp_YXX2FBg
Avoiding Issues Ahead
To prevent further hopmic jams clean the printer occasionally, update its firmware and keep it away from dust as much as possible.
If you follow these steps you will usually be able to fix the annoying paper jam warning without calling an expert. Do not hurry do it slowly while being gentle on everything.
